API Using TypeScript, mongoDB, JWT and EXPRESS
Create a new Node.js project: Navigate to the directory you want to create your project in, then run
mkdir your_project_name && cd your_project_name
npm init -y
Note that you will need an application to test such as Postman, Insomnia (my favourite one ^^) or even ThunderClient.
Now, let's install all the Requirements needed
npm install express mongoose dotenv typescript ts-node @types/node @types/expressTo run tests, run the following command
npm start
We can modify our package.json file
  "scripts": {
    "start": "ts-node src/server.ts",
  },
Express is a web application framework for Node.js that provides a robust set of features for web and mobile applications. It simplifies the process of building web applications by providing a simple and flexible API to leverage the robust features of the HTTP protocol.
Create a new tsconfig.json file by running :
npx tsc --init
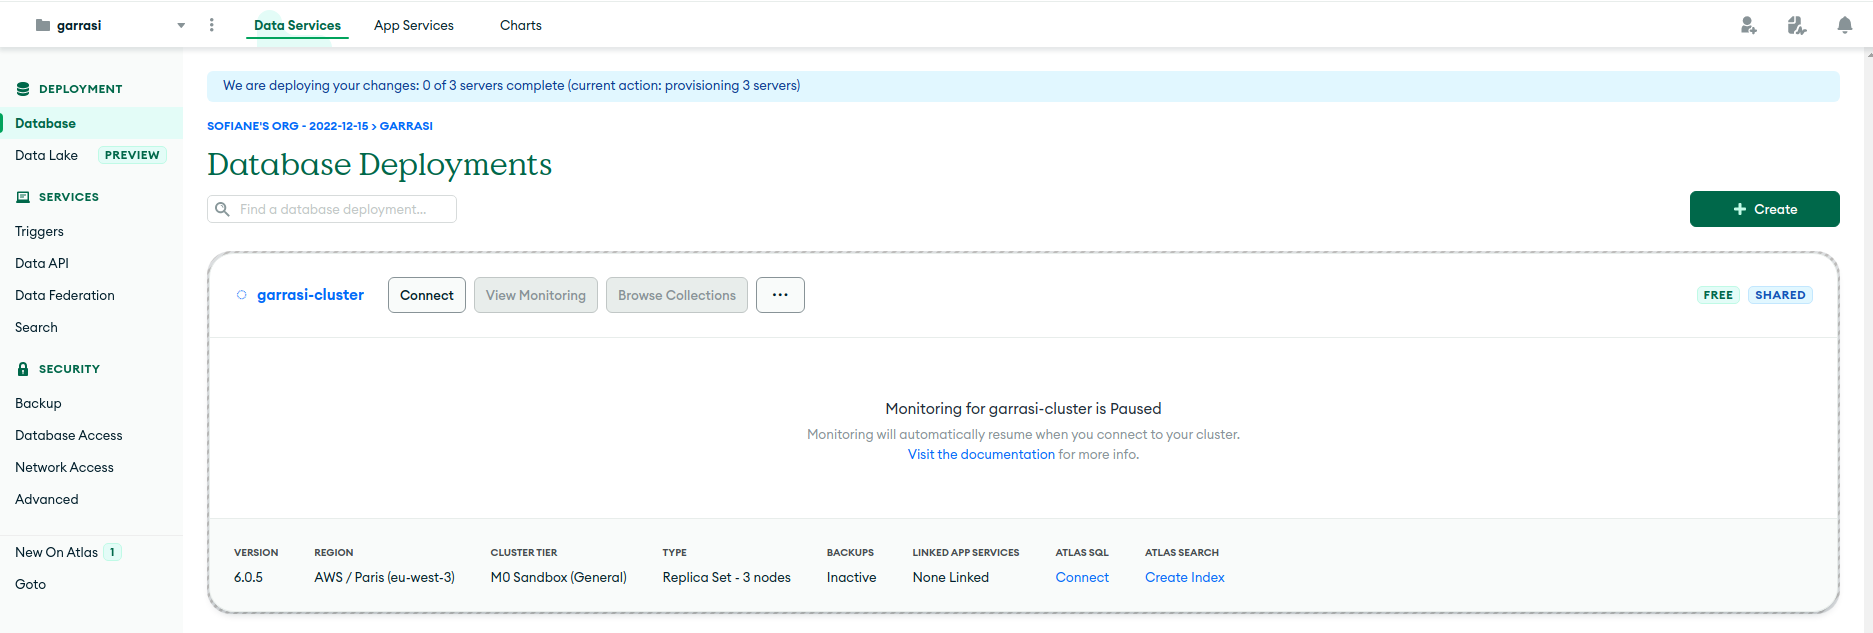
For MongoDB Atlas, you need to sign up, create a new cluster, and then get the connection string. Select the free service and then continue (note that you can only have one service at time).
Connect your Node.js application to MongoDB using the MongoDB Node.js driver.
You can do this by using the Mongoose library which provides a straightforward, schema-based solution to model your application data.
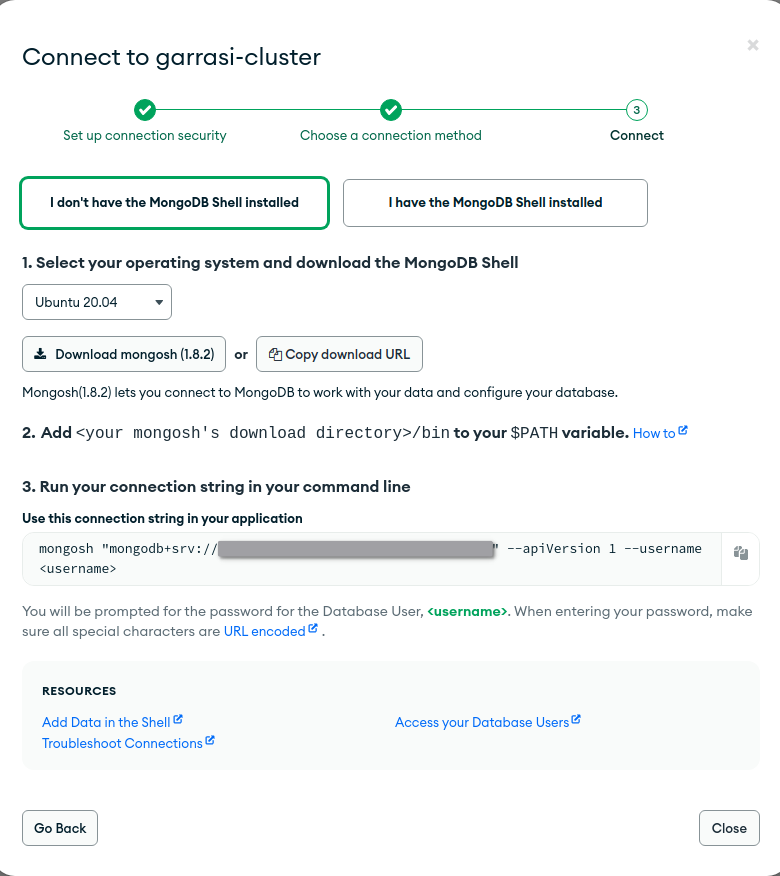
For this step it is important to use the mongoshell option
The first step here is to create a config file :
Let's first implement our dotenv module
import dotenv from 'dotenv';
next we will load it :
try {
    dotenv.config();
} catch (error) {
    console.error(`Error loading environment variables: ${error}`);
}
then load the variables
const MONGO_USER = process.env.MONGO_USER || '';
const MONGO_PASSWORD = process.env.MONGO_PASSWORD || '';
const MONGO_ADDRESS = process.env.MONGO_ADDRESS || ' ';
const MONGO_URL = `mongodb+srv://${MONGO_USER}:${MONGO_PASSWORD}@${MONGO_ADDRESS}`;
const SERVER_PORT = process.env.SERVER_PORT ? Number(process.env.SERVER_PORT) : 1337;
ADD Some error handlign about the variables up here
Then Export the interface and a variable that fit with the interface
export interface Config {
    mongo: {
        url: string;
    };
    server: {
        port: number;
    };
}

export const config: Config = {
    mongo: {
        url: MONGO_URL
    },
    server: {
        port: SERVER_PORT
    }
}
Our task is to create a User model. It should include fields for the user's name, password, and a boolean to check if the user is certified. The model will be created using Mongoose.
import mongoose, {Document, Schema} from "mongoose";
Now let's create an interface that will contain the datas that will be sent (Hint : it is the same way we did for the config file)
export interface iUser {
    // Implement variables that a user might need
    // For example, you might want to include username, password, mail, etcc,
    // you can be creative and add whatever you want
}
now let's export this interface :
export interface IUserModel extends IUser, Document {}
and then create a variable that will create a be called each time a user is created,
const UserSchema: Schema = new Schema(
    {
        // datas that we called in our interface and add parameters to it
        // hint we will need the type and precise if the variable is required here

    },
    {
        versionKey: false //
        honestly I don't really now why this is required but it does not work if it is not here
    }
);
Next, let's create a User controller. This is where we'll write the logic for user-related operations such as creating a new user, logging in, and reading user information.
We will need this imports for the controller module :
import mongoose from "mongoose";
import { MongoError } from "mongodb";
import User, { IUserModel } from "../models/User";
import jwt from "jsonwebtoken";
For the next step, I will help you a little because this step is difficult :
Here we will create our function that will create a user (probably for the registration routes, maybe a hint for a next step ^^)
  const { /* All the datas that we got in our model */} = req.body;

  const user = new User({
    _id: new mongoose.Types.ObjectId(), // this will provide an automatically user id
    /* Datas of the model */
  });

  return user
    .save()
    .then((user) => res.status(201).json({ user }))         // Handle the
    .catch((error) => res.status(500).json({ error }));     // errors here
};
Next we will call our login but first, we need to define a JWT hashing key :
const SECRET_KEY = <string>process.env.JWT_KEY;
Make sure that all of your raw variables like password and URLs are stored in a .env file
We can now start our login function :
  const { name, password } = req.body;

    User.findOne({ name }, (err: MongoError, user: IUserModel) => {
        // Make sure your implement correct error handling, here is one exemple but try to implement at lease 3 of them
        if (err) {
        return res.status(404).json({ error: 'User not found' })
        }

        // other error handling  (DO NOT SKIP THIS PART!!!)

        const token = jwt.sign({ /* Datas of our model, it can be formatted like this username: user.name */}, SECRET_KEY);

        res.status(200).json({
        user: { /* Same way we did for the token up, we need to implement the datas */},
        token
        });
    });
    };
Now, we will make all the function that can be called by our routes,
const readAll()


// These two are optional and can be made in the next Workshop Session

const updateUser()
const deleteUser()
Now that we done this, we can go to the next step :
For this step, we need to understand the different types of routes method that exists, for these workshops, we will use 4 of them, which are the most common
import express from 'express';
import userController from '../controllers/user';
then we will initialize our router :
const router = express.Router();
then initialize our routes :
router.theMethodOfYourChoice('/RouteOfYourChoice', function from the Controller module );
Don't paste this method, it won't work, implement your own and then export it :
export default router;
Let's start importing these requirements,
import http from "http";
import mongoose from "mongoose";
import { config } from "./config/config";
import Logging from "./library/Logging";
import userRoutes from "./routes/User";
The we will import this the cors middleware and create an express application instance (router). We will also sett the strictQuery option of Mongoose to false. This option, when set to true, makes Mongoose throw errors when you pass an unrecognized key in a query to MongoDB.
And cors. This middleware allows Cross-Origin Resource Sharing (CORS), which is essential if your API is accessed from different domains.
const cors = require("cors");

mongoose.set("strictQuery", false);
const router = express();
Here, we will connect to MongoDB using Mongoose. If the connection is successful, you log a message and start the server. If the connection fails, you log an error message.
mongoose
  .connect(config.mongo.url, { retryWrites: true, w: "majority" })
  .then(() => {
    Logging.info("/* Message for connection */");
    StartServer();
  })
  .catch((error) => {
    Logging.error("/* Error message with the error specification*/");
    Logging.error(error);
  });
We will log the method, url, and IP address of each request, and when the response finishes, we will log the status code :
const StartServer = () => {
  router.use(cors());
  router.use((req, res, next) => {
    Logging.info(`Incoming -> Method: [${req.method}]
     - Url: [${req.url}] - IP: [${req.socket.remoteAddress}]`);

    res.on("finish", () => {
      Logging.info(`Incoming -> Method: [${req.method}]
      - Url: [${req.url}] - IP: [${req.socket.remoteAddress}]
      - Status: [${res.statusCode}]`);
    });

    next();
  });
This middleware is for logging incoming requests. You log the method, url, and IP address of each request, and when the response finishes, you log the status code.
router.use(express.urlencoded({ extended: true }));
router.use(express.json());
then
  router.use((req, res, next) => {
    res.header("Access-Control-Allow-Origin", "*");
    res.header(
      "Access-Control-Allow-Headers",
      "Origin, X-Request ed-With, Content-Type, Accept, Authorization"
    );

    if (req.method == "OPTIONS") {
      res.header(
        "Access-Control-Allow-Methods",
        "PUT, POST, PATCH, DELETE, GET"
      );
      return res.status(200).json({});
    }

    next();
  });
This middleware sets some CORS headers. The "Access-Control-Allow-Origin" header allows any origin to access your API. The "Access-Control-Allow-Headers" header specifies the headers that are allowed in requests. If the request method is "OPTIONS", the middleware responds with a 200 status and the "Access-Control-Allow-Methods" header, which specifies the methods that are allowed. \
Then we will mount our routes, in this case, we can add if we make more routes
router.use("//*Whatever you want*/", /*Call your route methods*/);
We will handle any request that doesn't match any of the above routes. It logs an error and sends a 404 status with an error message.
  router.use((req, res, next) => {
    const error = new Error("not found");
    Logging.error(error);
    return res.status(404).json({ message: error.message });
  });
Finally, you create an HTTP server with your express application and start listening on the port specified in your config file. When the server starts, you log a message.
  http
    .createServer(router)
    .listen(config.server.port, () =>
      Logging.info(`Server is running on port ${config.server.port}.`)
    );
};
You can setup each route with it specific method to check your code and make sure everythig is ok

We can now add methods as we did here for the Publications method and extend it for whatever you want, and add a custom middleware to check the values to upgrade the security of our program, we can import a module called Joi for Object Schema and check the informations of our users, and implement REGEX and let your imagination free